Stellated Polygon
To create a Stellated Polygon:
- Specify the number of teeth
- Specify the Internal and External radii
- If to wish the polygon to be rounded specify the Radius Fillets. (Skip this if you want to set the polygon as a wave)
- If you want there to be a hole in the polygon specify the Hole Diameter.
Then:
- Click to place the center point for the polygon.
- Move the cursor and click to specify the rotation Angle for the polygon
Or:
- Specify the angle value in the Angle field and click the Enter key.
Options:
Stellated as Wave – this option sets an automatic wave curvature for the polygon. When this option is on the Fillet values are ignored.
NOTE: You cannot extrude, revolve, loft or perform similar 3D operations on Stellated polygons. You must explode them first.
Editing Stellated Polygons
You can use the Edit tool to re-arrange and modify a Stellated Polygon.
To Edit a Stellated Polygon:
- Select the polygon.
- Right click, and select Edit Tool.
- Use the node to reshape the polygon.
NOTE: You cannot rotate a Stellated Polygon using the standard rotation handles of the Selector tool. You must use the rotation angle of the polygon itself.
Gear Contour
Definitions:
Diametral pitch – equals the number of teeth of the gear per inch or per centimeter of the diameter, of its pitch circle. For example, if a gear has 32 teeth and a diameter of 8 inches the diametral pitch is four teeth per inch.
Pitch circle – is the circle that passes through the contact point between two meshing gears.
Pressure angle – is the angle at a contact point between two gears. Common values are 14.5, 20 and 25 degrees. However, teeth with smaller pressure angles are weaker. Tgears must have the same pressure angle in order for the teeth to mesh properly.
To create a Gear Contour:
- Specify the number of teeth
- Specify the Diametral Pitch.
- Specify the Pressure Angle.
- Specify the Angle to set the rotation of the gear.
- If you want there to be a hole in the gear specify the Hole Diameter.
Then:
- Click to place the center point for the gear.
Options:
Gear as Pinion – this option align a new gear with a previously created gear.
- Select the Gear as Pinion option.
- Click on an existing gear.
- Rotate the new gear around the old gear until it is located as desired.
- Click to place the gear.
NOTE: You cannot extrude, revolve, loft or perform similar 3D operations on gear contours. You must explode them first.
Editing Gear Contours
You can use the Edit tool to re-arrange and modify a Gear Contour.
To Edit a Gear Contour:
- Select the Gear Contour.
- Right click, and select Edit Tool.
- Use the node to reshape the Gear.
...
- Skip 2D Part draw to render views
- Skip Marks draw to render views
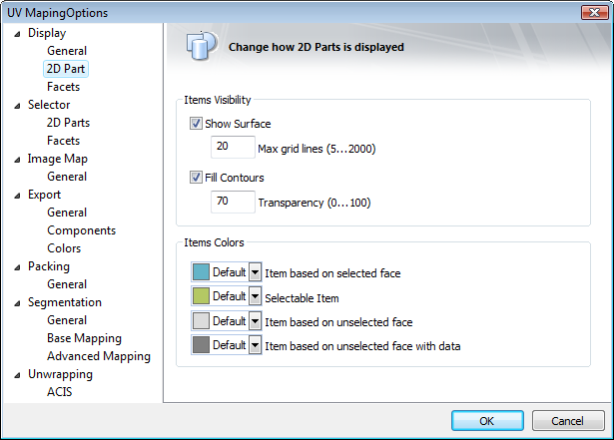
- Show Surface
- Max grid lines (5…2000)
- Fill Contours
- Transparency (0…100)
- Item based on selected face
- Selectable Item
- Item based on unselected face
- Item based on unselected face with data
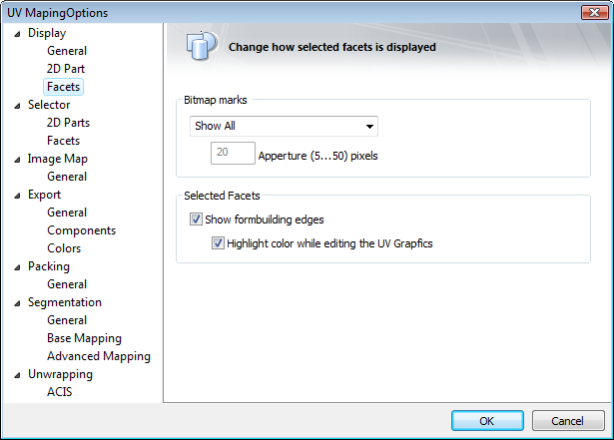
- Bitmap marks
- Apperture (5…50) pixels
Correct spelling = Aperture
- Selected Facets
- Show form building edges
- Highlight color while editing the UV Grapfics
Correct spelling = Graphics
Defined in current Documentation COPY
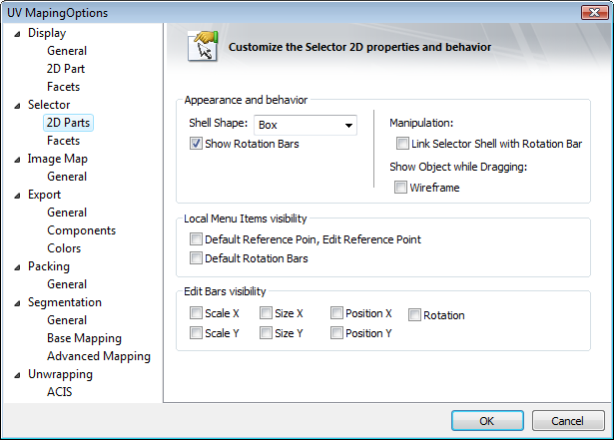
- Local Menu Items visibility
- Default Reference Poin, Edit Reference Point Correct spelling = Point
- Default Rotation Bars
Defined in current Documentation COPY
- Local Menu Items visibility
- Default Reference Poin, Edit Reference Point Correct spelling = Point
- Default Rotation Bars, Lock / Unlock Axis
- Set UCS by Select, Set Selector by UCS Correct spelling = UCS by Selector
Correct spelling = World not 'Word'
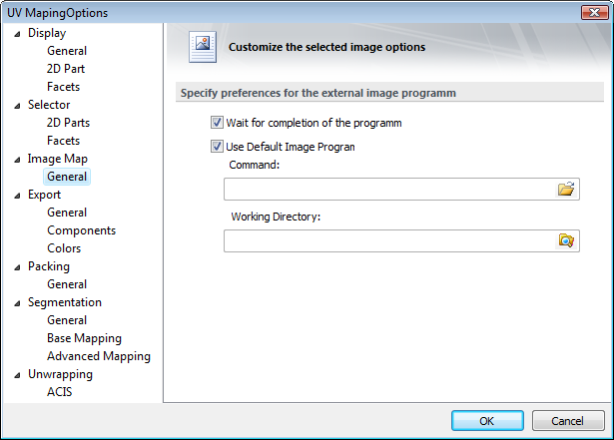
- Wait for completion of programm Correct spelling = program
- Use Default Image Program
- Command
- Working Directory
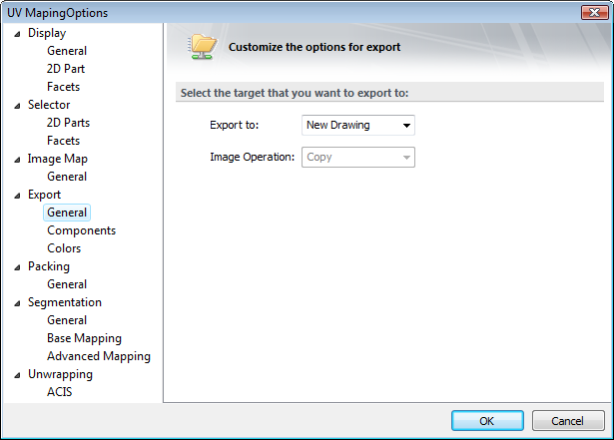
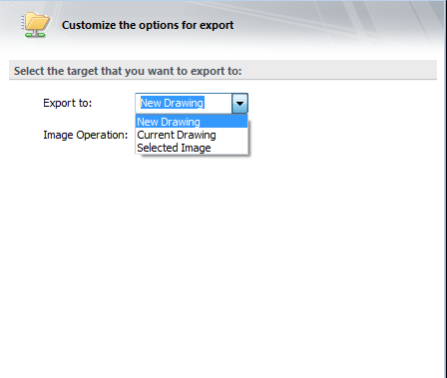
- Export to:
- Image Operation
- New Drawing
- Current Drawing
- Selected Image
- Contours
- Solid Fill
- Surfaces
- UV Rectagle
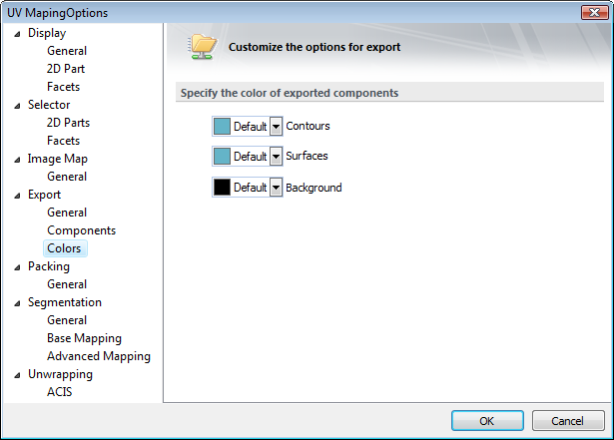
Color for exported components
- Contours
- Surfaces
- Background
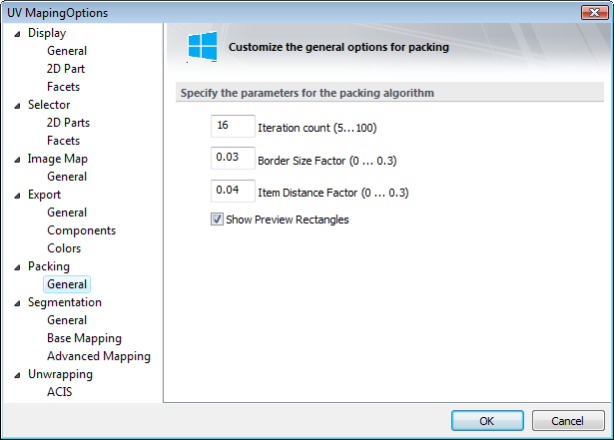
Specify the parameters for the packing algorithm
- Iteration count (5…100)
- Border Size Factor (0…0.3)
- Item Distance Factor (0…0.3)
- Show Preview Rectangles
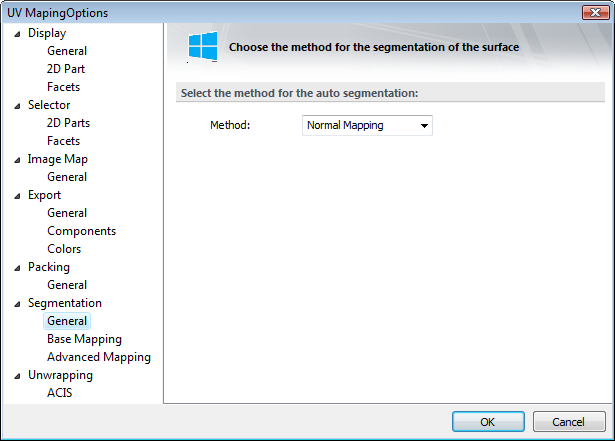
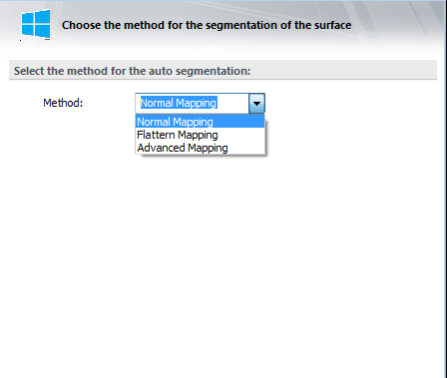
Select the method for the auto segmentation:
- Method
- Normal Mapping
- Flattern Mapping Correct spelling = Flatten
- Advanced Mapping
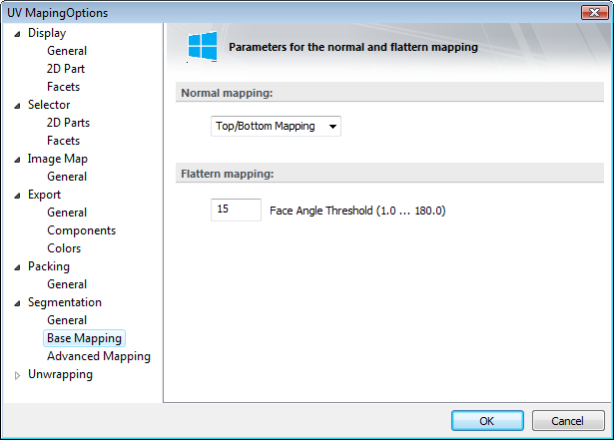
Normal Mapping
Flattern Mapping Correct spelling = Flatten
- Face Angle Threshhold (1.0…180.0)
- Top/Bottom mapping
- Back/Front Mapping
- Left Right Mapping
- Box Mapping
...
- Percent of edges for checking (1.0…99.0)
- Use specific options
- Maximal Correct spelling = Maximum number of edges in the tested path (2…100)
- Minimal Correct spelling = Minimum number of edges in the detected feature (from 1 Greater than 1)
- Threshold distance for the charts merge in percents (1.0…99.0) Correct = Threshold distance for merging charts by percentage (1.0…99.0)
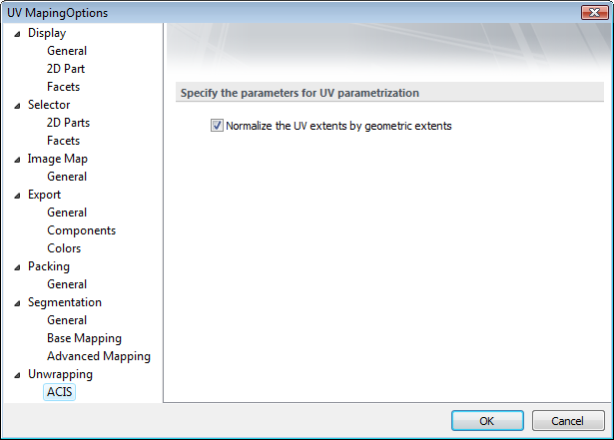
Specify the parameters for UV parameterization
- Normalize the UV extents by geometric extents
...
- Add
- And
- Xor
- Or
- Copy
- Sub
- Blend
- Screen
- Avg
...


