Anchor
While these methods are generally the most convenient for making quick copies, there are other tools you can use for more complex and detailed copying. See Copying Objects. For other tools you can use to copy objects relative to specific points, see Transforming.
...
Make
...
Copy
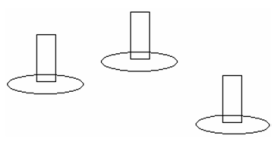
Creates one copy of the selected objects.
- Select the objects you want to copy.

Warning: If you want to change the reference point, do not do so while Make Copy is active, or you will create a copy on top of the original. Change the reference point first, then activate Make Copy. See Components of Select Edit Mode. - Select Make Copy from the local menu, or click the icon on the Inspector Bar.

- Click the reference point, and the cursor changes to a four-directional arrow with a plus sign.

- Move the reference point to the new location, or enter the new position in the Inspector Bar.

- The copied objects are now the ones selected. If you want to make another copy, you must click the reference point again.

- When the objects are copied, click anywhere or press Esc to exit Select mode.

- Turn off Make Copy unless it is still needed.
...
Simple
...
Dragging
...
to
...
Copy
...
...
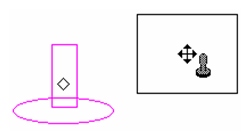
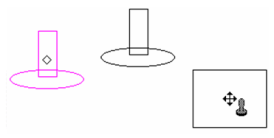
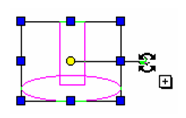
If you place the cursor anywhere inside a selection other than on the reference point, you can simply drag the selection (keeping the mouse pressed) to another location within the drawing. If Make Copy is active, the objects will be copied instead of moved.
To activate Make Copy, select it from the local menu, or click the icon on the Inspector Bar.
![]()
With simple dragging, you cannot use snaps or the Coordinate Fields, but it is convenient if you do not need accurate placement.
Turn off Make Copy when it is no longer needed.
...
Rubber Stamp
Creates multiple copies of the selected objects.
- Select the objects you want to copy.
- Select Rubber Stamp from the local menu, or click the icon on the Inspector Bar.


- A rubber stamp icon appears, and you can click to locate the first copy.

- Create as many copies as you need.

- To finish press Esc, or select Cancel from the local menu or Inspector Bar.
The original objects are still selected.

- Click anywhere or press Esc to exit Select mode.

- Turn off Make Copy unless it is still needed.
...
Making
...
a Rotated Copy
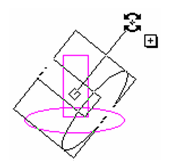
Creates one rotated copy of the selected objects.
- Select the objects you want to copy. (See Components of Select Edit Mode if you want the rotation bar in a different place.)
- Select Make Copy from the local menu, or click the icon on the Inspector Bar.


- Click the rotation handle, and the cursor changes to a rotation arrow with a plus sign.

- Move the rotation handle to the new location, or enter the angle in the Inspector Bar.

- The copied objects are now the ones selected. If you want to make another copy, you must click the reference point again.

- When the objects are copied, click anywhere or press Esc to exit Select mode.

- Turn off Make Copy unless it is still needed.
...
Making
...
a
...
Scaled
...
Copy
...
...
Creates one scaled copy of the selected objects.
- Select the objects you want to copy.
- Select Make Copy from the local menu, or click the icon on the Inspector Bar.


- Click one of the drag handles, and the cursor changes to a resize symbol with a plus sign.

- Drag the handle to the new location, or enter the new scale or size in the Inspector Bar.

- The copied objects are now the ones selected. If you want to make another copy, you must click the reference point again.

- When the objects are copied, click anywhere or press Esc to exit Select mode.

- Turn off Make Copy unless it is still needed.
...
Using Ctrl
...
to
...
Copy
...
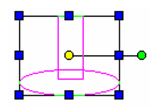
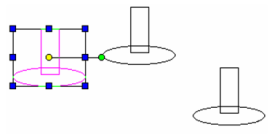
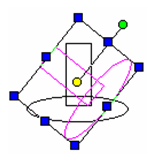
An easy way of creating one copy of selected objects is to use the Ctrl key. The procedure is basically the same for moving, rotating, or scaling objects.
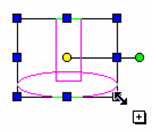
- To create a copy, select the objects and start moving by clicking the yellow reference point. Press Ctrl, and complete the move.
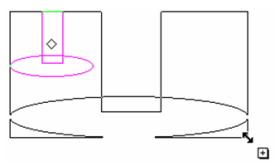
- To create a rotated copy, select the objects and start rotating by clicking the green rotation handle. Press Ctrl, and complete the rotation.
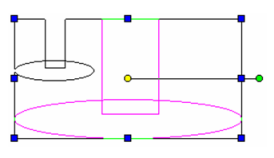
- To create a scaled copy, select the objects and start dragging one of the blue rotation handles. Press Ctrl, and complete the scaling.