Offset
Creates one or more offset copies of a 2D object. The object can be open or closed. For closed objects, the offsets will also be closed (in most cases). You can offset these objects:
...
The offsets are created so that linear segments remain parallel. When possible, arc start and end angles remain the same as well. Various options become available depending if the Skip Define Distance step option is on. This is normally active by default.
A Multiple option may be used after selecting the source object instead of specifying a Sets amount.
Skip Define Distance step:
active inactive. 

- Select the Offset tool.
- Set the offset Distance either by entering a value in the Inspector Bar or by selecting two points. The angle of this line does not matter; the value of its length will be used.

- Enter the number of Sets in the Inspector Bar. This is the total number of copies, plus the original.

- Select the object.

- Select the side of the object where you want to place the copies.

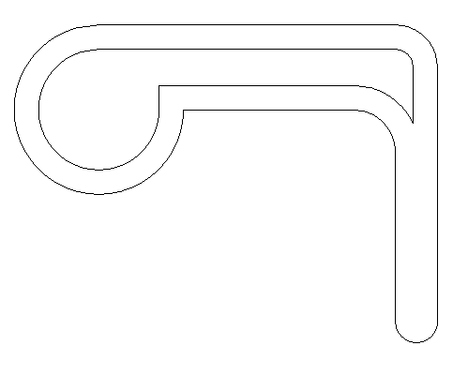
 The offset copies are made on the selected side. In this case, the left object was offset to outside and the right object to the inside. Where lines overlap, they are automatically trimmed.
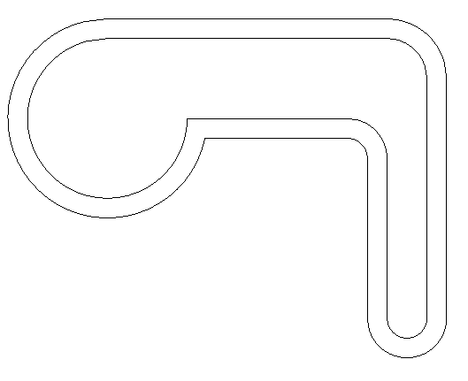
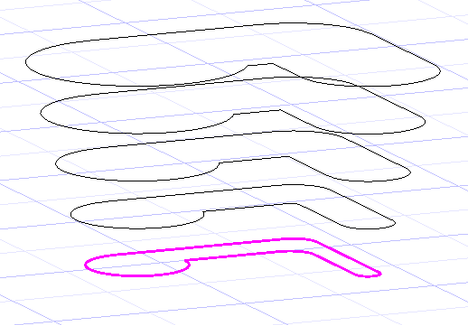
- If you enter a plus or minus Z Offset value, each offset copy will be separated from the adjacent one by this height; thus, on a new workplane.
- You can use the same parameters to offset other objects, you can change the parameters, or select Finish from the Local Menu or Inspector Bar to exit the tool.
...