...
Note: For details on selecting by query, seesee Select by Query.
...
- Each filter must be assigned a name.

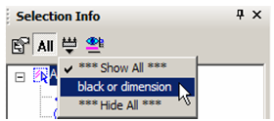
- To apply this filter, click Filter in the toolbar.
- Select the filter you just created.
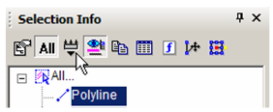
Now only the polyline and dimension appear in the palette. - You can change geometry by modifying geometry in the Metrics category. Open Metrics for the Polyline - the coordinates for each vertex are listed.
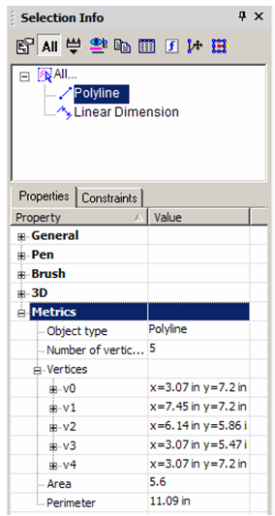
- Open the branch for a vertex to see its X and Y coordinates. These values can be changed.
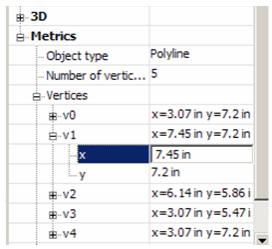
The vertex highlighted in the palette is also highlighted in the drawing area.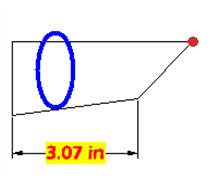
Some values cannot be edited, such as Area and Perimeter. These values depend on the coordinates of the vertices, and are grayed out.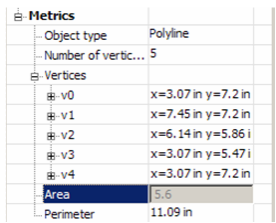
- To see options for another type of object, create several objects and group them (select them, then select Format / Create Group).
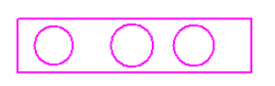
Note:For details on groups, seeGroups. - This object is a "Group of Graphics," and you can open it to see each object that comprises the group. To edit the group, click Edit Content.

- The group's contents fill the screen. Make some change, such as adding or removing objects from it.
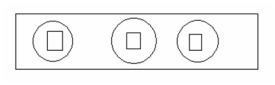
- When finished, click Finish Edit Content.
...