Photo notes are used to add photo documentation to your GeoMarks.
Tap the red REC button to activate photo taking mode.

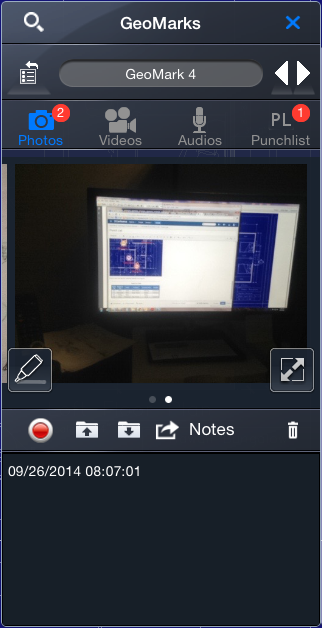
To create a photo note:
- Select the GeoMark you wish to edit.
- Go to the Photo section.
- Tap the REC button.
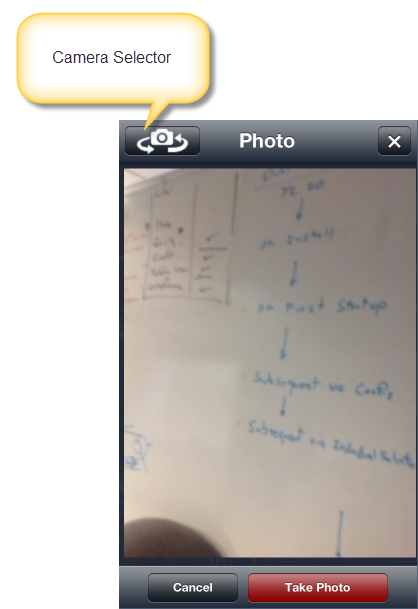
- Tap the Camera Selector to designate the camera you wish to use.
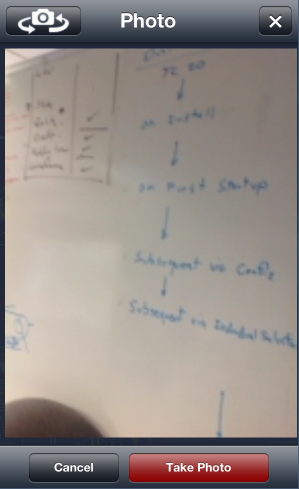
- Point the camera at the area you wish to photograph.
- Tap the Take Photo button.
If you tap directly on the photo you will be presented with two options:
- Expand Photo
- Mark-Up Photo
Expand Photo
Tapping the expand photo button will cause the current photo to be shown at the full size of the screen. You will also be able to scroll through all of the other photos attached to the GeoMark at full size via finger swipes.
To return to normal size tap the Expand Photo button again.
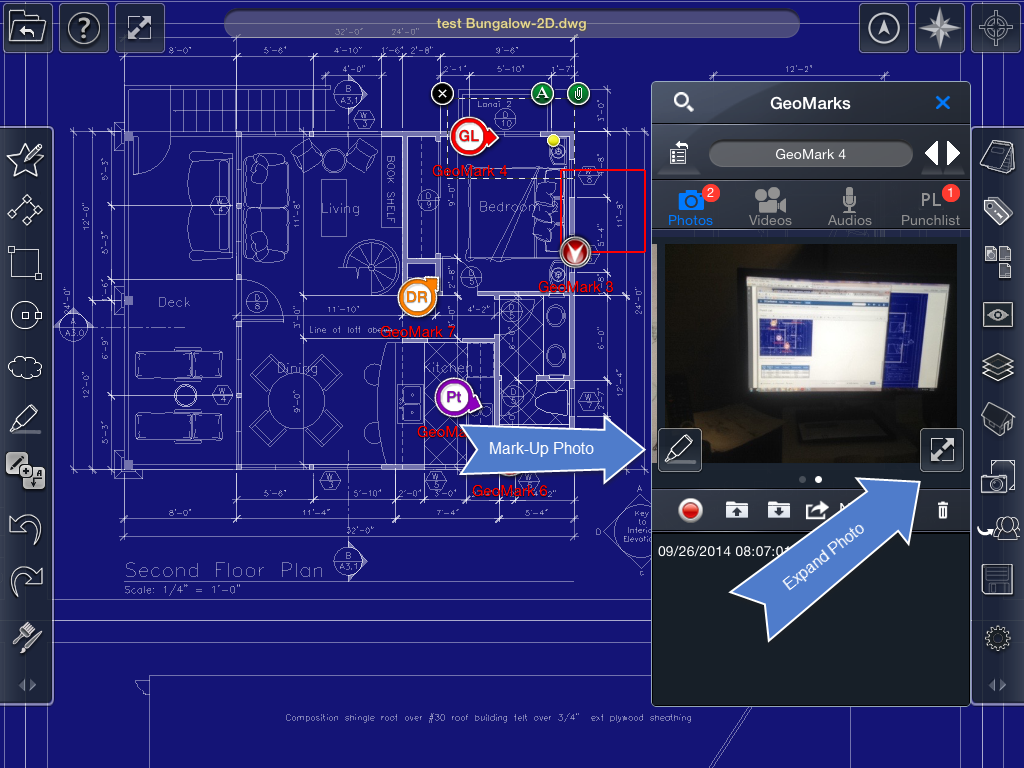
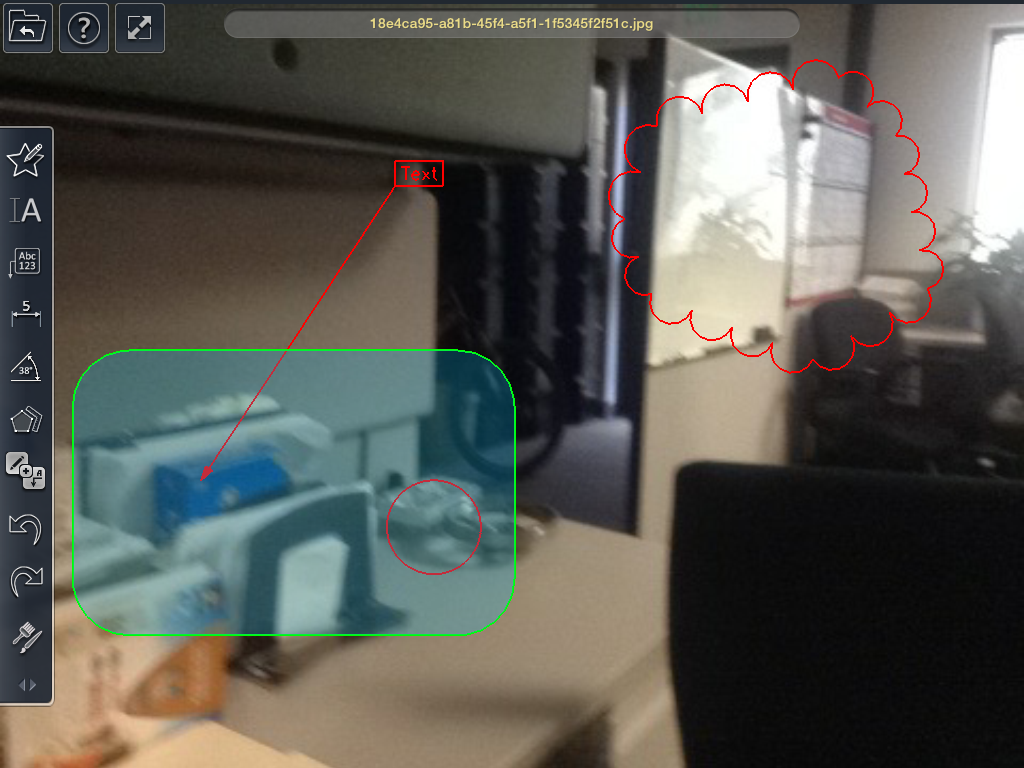
Mark-Up Photo
When you tap on the Mark-Up photo button the photo will expand to the full size of the screen, and the regular mark-up/red line tools will appear.

You can use the drawing tools to mark-up the photo as you would a drawing.
you will also be able to zoom in and out for detail work
Tap the Return button to go back to the GeoMark with the marked up photo.
You can edit or remove the mark-up at anytime in the future.