...
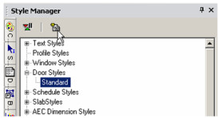
- You can change the "Standard" style, but if you want to preserve this style, make sure "Standard" is highlighted and click Create New Style.
- Assign a name.
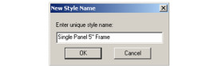
This creates a new style which is a copy of "Standard." - There are three categories of properties. Open Dimension, where you can specify measurements of the frame, stop, door panel, and glass.
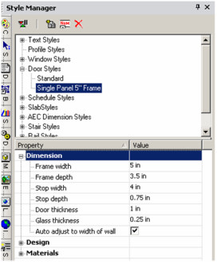
Auto Adjust to Width of Wall: Sets the depth of the door so that it will cut all the way through the wall. - Open Design, where you can specify the door type (single, double, pocket, etc.) and shape (rectangular, arch, half round, etc.). For a list of available door types, see |#Rure90148.
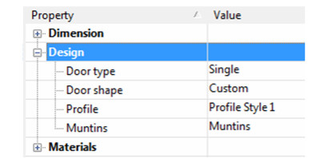
- You can also select, edit and create muntins. See |#Rure30765
Note: Profile is used when you've created a profile for changing the door shape, or for adding holes. See Profile Styles. - The last category is Materials, in which you can set the materials of the frame, stop, panel, and glass. If you leave any material blank (such as the Stop Material below), the object will be colored according to the Pen color set in the window's Properties.
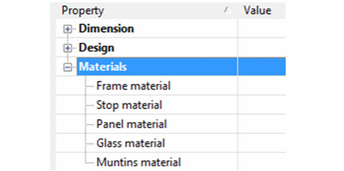
To set or change a material, just click in the field. In the Materials window that opens, select the Category and Material.

Note: For details on materials, see Materials. Glass material will only be used if the door uses a profile that includes holes. See Ring39788. - Before creating any doors, you must have at least one wall defined. See Inserting WallsTo assign height to a wall, define a Thickness in the 3D page of the wall's Properties.

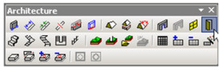
- This is the icon for Door. Right-click on the icon to set the tool's Properties, and click the icon when you're ready to insert a door.
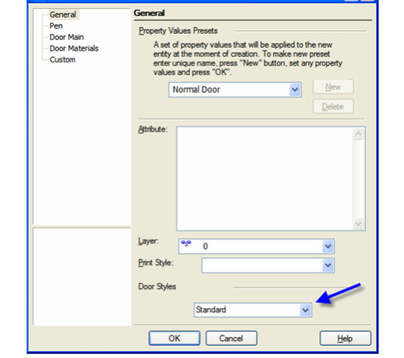
- Open the Door tool's Properties. On the General page, select the Door Style.
- On the Door Main page, set the overall dimension of the door. The preview at the lower left updates when you change the values.
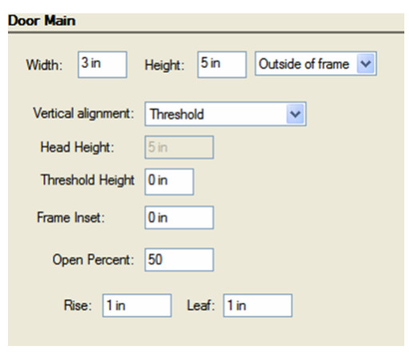
Width and Height: Overall outer dimensions of the window.
Inside/Outside of Frame: Specifies that the dimensions of the window are applied by measuring to the inside or outside of the window frame.
Vertical alignment: Specifies whether the widows vertical position is specified by the Threshold Height, or the Head of the window.
Head Height: Specifies the vertical location of the top of the window. This field is only accessible if the vertical alignment option is set to Head of object.
Threshold Height: Specifies the vertical location of the sill of the window. This field is only accessible if the vertical alignment option is set to Threshold.
Rise: The distance from the top corner to the top center, in the case of arched or peaked windows.
Frame Inset: The distance from the front of the wall to the window frame.
Elevation: The distance from the bottom of the wall to the bottom of the window. This value is also available on the Inspector Bar.
Open Percent: Defines how wide the window is open.
Leaf: in the case of uneven doors, the size of one of the panes. - On the Pen page, specify the color of the door. This color will be applied to any part of the door that does not have a material assignment.
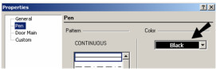
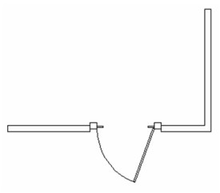
- When all parameters are set, click the wall to place the door. The wall material within the door area is removed. No matter where you click on the wall, the door is placed according to the Elevation value. In this example, the door stop is colored black, which is the default Pen color. The frame and panel have the assigned materials.

In World Plan view, you can see how the door cuts the wall.
- You can orient of the window to the wall by using the Flip Left-Right, Flip Inside-Outside controls in the Local menu, or Inspector bar.
All parameters that available on the Properties window, including Door style, are also available on the Selection Info palette. If you move a door, it will remain within the plane of the wall.
...