
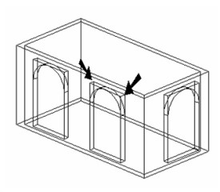
By default, when using the Insert Opening tool, an opening is inserted into a wall by creating a rectangular cutout, even when the block is not rectangular, as in the case of an arched doorway or a circular window.
For non-rectangular openings, you can apply a modifier that will define the shape of the cutout.
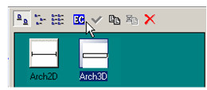
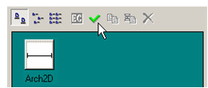
- In the Blocks Palette, select the 3D block whose cutout you want to modify, and click Edit Contents.
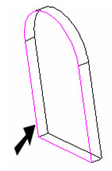
- Create the closed, 2D object you want to use as the cutout. Change the workplane if necessary. In this example, a polyline was added to the door face - an exact trace of the doorway shape.
- Activate Edit Opening Modifier. If a modifier was previously defined, it will be highlighted.
- Select the object to be used as the modifier.
- Select Finish from the local menu or Inspector Bar.
- In the Blocks Palette, click Finish Edit Content
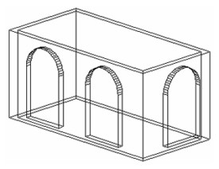
The openings now show the revised cutout shape.
Note: If you want to continue adding more openings, you will have to change the workplane back to Workplane by World.