UV Material Wizard
- Copy Page Tree
- Brian Carter (Unlicensed)
The Material wizard automates the process of creating a UV compatible material.
To use the Material wizard:
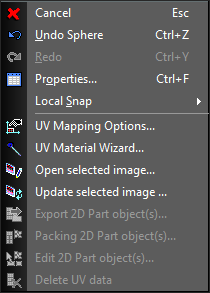
- Go to Tools.
- Select UV Mapping Tools. (this will only be available if there is a least one 3D object in the model.)
Optionally:
Click on an image to select it.
And/Or
Click on a 3D object to select it. - Right click and select UV Material Wizard .
- Set the parameters in the Wizard dialog, and then press OK.
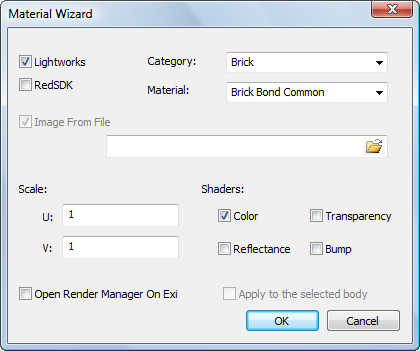
PARAMETERS
LightWorks - If selected a Lightworks material is created.
RedSDK - If selected a RedSDK material is created.
Category - Set the category in which the material will reside.
Material - Select or type in the name for the material.
Image From File - If you pre-selected an image this will be unchecked, and the file and path filed will be filled. If Checked you will have to fill the
File and Path field - If unfilled use the adjacent File Open button start the File Open dialog, and then locate and select an image.
File Open button - Opens the File Open dialog.
Scale:
U - Set the U scale for the material.
V - Set the V scale for the material.
Shaders:
Color - Set whether the image will be used to specify the color or pattern of the material.
Reflectance - Set whether the image will be used to specify the color intensity or Reflectance pattern of the material.
Transparency - Set whether the image will be used to specify the color intensity or Transparency pattern of the material.
Bump - Set whether the image will be used to specify the color intensity or Bump pattern of the material.
Open render Manager on Exit - I checked the Render Manager will open when you press OK.
Apply to the Selected body - If checked and if you pre-selected a 3D object the new material will be assigned to that object.