Workplanes
- Brian Carter (Unlicensed)
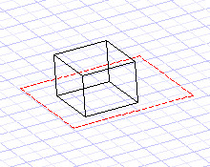
A workplane is the plane on which 2D objects are created, and on which most 3D objects are based. In 2D, you always work on the same workplane - the XY plane of the current UCS. In 3D, however, the workplane may change frequently.
In 3D, the workplane is still in the XY plane by default. But if you have 3D objects in your model, you can temporarily move the workplane to the facet where your cursor is. This is set in the Drawing Aids window, which can be opened by right-clicking on the SNAP or GEO field at the bottom of the screen.

Note: For details on Drawing Aids, see Snap Settings.
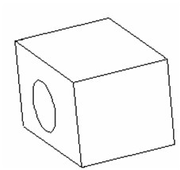
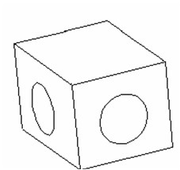
When Workplane by Face mode* is checked, the facet will highlight in red when the cursor passes over it.

The object you draw will be placed on that facet.
The facet workplane is temporary; after the object is created, the workplane returns to the XY plane. If you highlight another facet, that workplane will be temporarily active for the next object you create.

Note: If you create an object with no facet highlighted, the default workplane will be used.
If you uncheck Workplane by Face mode in Drawing Aids, the workplane will always be the default workplane. If you don't want to use the XY plane of the current UCS, you can use one of the Workplane commands. These commands can be found on the flyout toolbar on the main toolbar.
You can also display the Workplane toolbar by right-clicking in any toolbar area and selecting Workplane.
![]()
Note: The Design Director also contains tools for manipulating workplanes, creating workplanes, and displaying the view according to a selected workplane. See Design Director- Workplanes.
If you are working with the grid turned on (see Grid), the grid will lie on the current workplane.