/
Database Connection Palette
Database Connection Palette
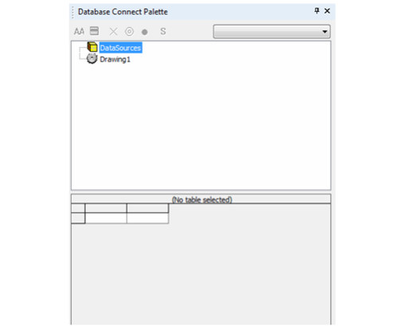
TurboCAD has the ability to connect to a database and associate the data with objects. Database connectivity and management is handled through the Database Connection Palette.
To Create a Database Connection:
- Open the Database Connection Palette.
- Right click on the DataSources icon and click Add DataSource.
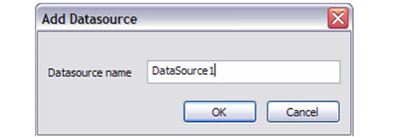
- In the Add Datasource dialog type in the name of the new datasource and click OK.
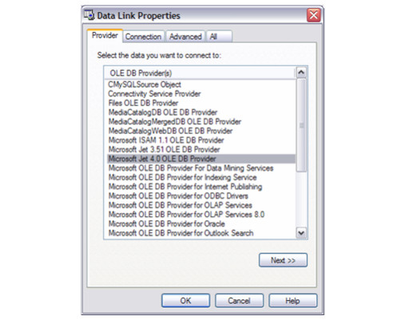
- The Data Link Properties dialog will open.
- On the Provider page select the appropriate OLE DB Provider type for the datasource to which you wish to connect. Then click Next.
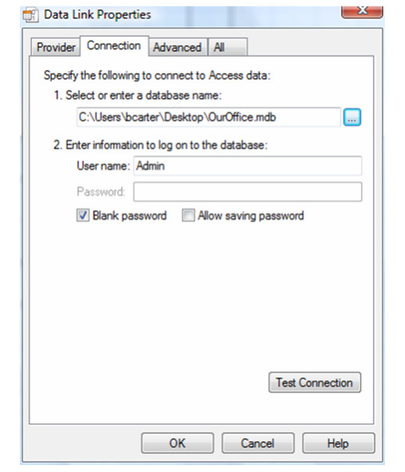
- The Connection page will appear.
- Specify the database path and name.
- Setup the log on information.
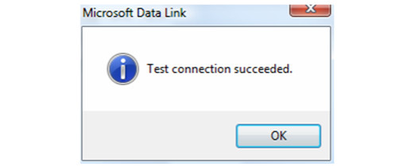
- Click the Test Connection button. If the connection is valid the Test Connection Succeeded message will appear.
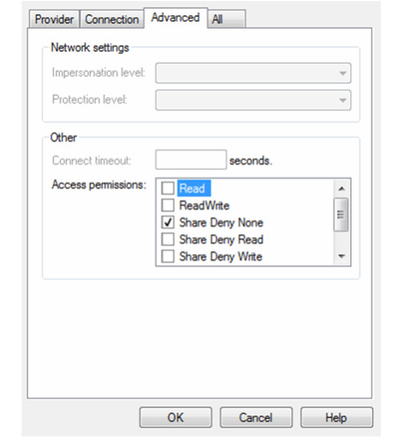
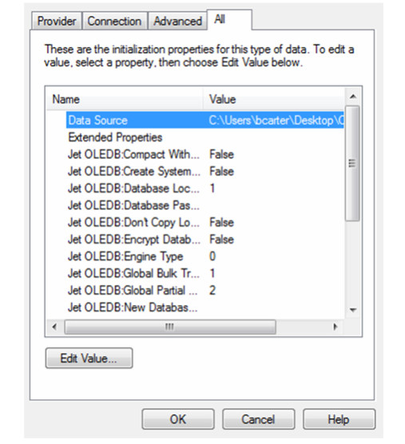
- At this point you can move on to the Advanced and All pages, or click OK.
- The features and functions of the Advanced and All pages are network and database specific, and are dependent upon your network and OBDC/OLE DB protocols. Only a person and experienced with your network and database protocols should alter these settings.
- After these operations you will see a new datasource object in DataSources tree.
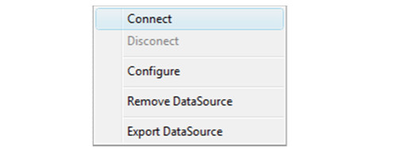
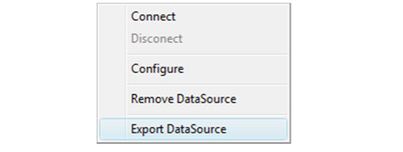
- The datasource is not yet connected. Right-click on the datasource and select Connect.
- Your database is now connected to TurboCAD as a datasource.
- When connected a datasource shows all available tables and views in database.
To Disconnect a Datasourse:
- Select a connected datasource in the DataSources tree.
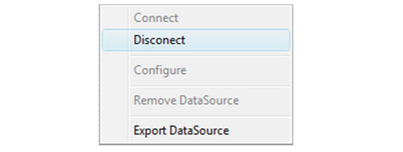
- Right-click on the datasource and select Disconnect.
To Re-configure a Datasourse:
- Select a datasource in the DataSources tree.
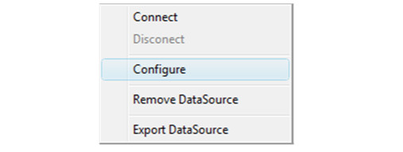
- Right-click on the datasource and select Configure. This will open the Data Link Properties dialog.
- Make the required changes and click OK.
To Remove a Datasourse:
- Select a datasource in the DataSources tree.
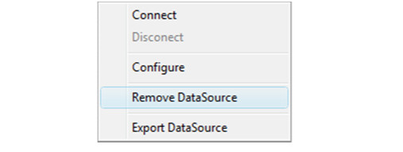
- Right-click on the datasource and select Remove DataSource.
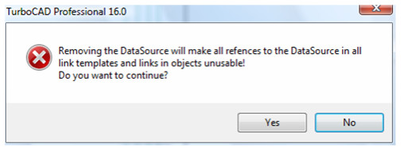
- You will be prompted with a warning dialog.
- 4.If you are clear to proceed click Yes.
To Export a Datasourse:
- Select a datasource in the DataSources tree.
- Right-click on the datasource and select Export DataSource.
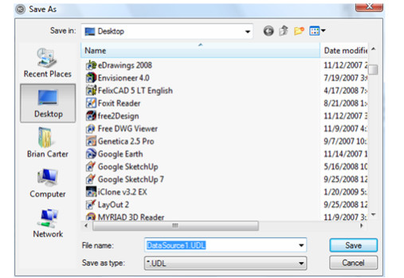
- This will open Save As dialog.
- Select a location and name for the datasource, and then click Save.
To Import a Datasourse:
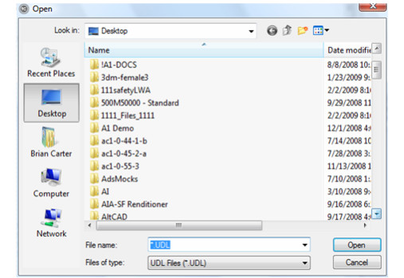
- Right click on the DataSources icon and click Import DataSource.
- This will start the Open dialog.
Note: Connect is only available when a datasource is disconnected. Disconnect is only available when a datasource is connected.
, multiple selections available,
For any documentation issues please email:
Documentation@imsidesign.com
