/
Editing Circles, Ellipses, and Arcs
Editing Circles, Ellipses, and Arcs
In addition to adding, deleting, or moving nodes, there are several Edit Tool features unique to circular and elliptical objects.
Chan ging the Radius of a Circle or Arc
- Use the Edit Tool on the circle or arc whose radius you want to change.
- Click and move the blue handle to resize the object. You can also enter the new radius in the Inspector Bar.
Cha nging the Axes of an Ellipse or Elliptical Arc
- Use the Edit Tool on the ellipse or elliptical arc whose axes you want to change.
- There are two blue handles, one for the major axis and one for the minor.
- Click and move the relevant blue handle to resize the axis. You can also enter the new axis length in the Inspector Bar.
To scale the object while maintaining its aspect ratio (major axis to minor axis), hold the Shift key while dragging either blue handle.
Ch anging Start and End Angles
.
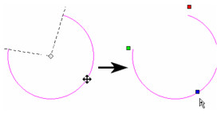
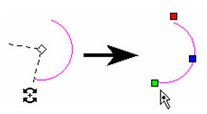
- Use the Edit Tool on the object whose start and end angles you want to change.
- The green handle is used to change the start angle, and the red handle is for the end angle.
- Click and move either angle handle to resize the angles. You can also enter the new angles in the Inspector Bar.
Dividi ng an Arc
Adds nodes to an arc or circle, breaking it into separate arcs. The resulting arcs can be edited just like any arc.
- Use the Edit Tool on the arc or circle you want to divide.
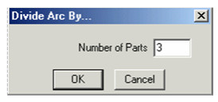
- Right-click over the arc you want to divide, and select Arc Divide from the local menu. Enter the number of arcs.
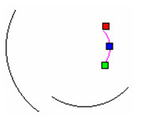
The arc is divided into the specified number of arcs. Each resultant arc can be node edited separately.
- To node edit a different arc, simple click on it while still in the Edit Tool.
Tip: To divide an arc segment that is part of a polyline, right-click on the green node and select Insert Arc. This divides the arc into two equal segments.
, multiple selections available,
For any documentation issues please email:
Documentation@imsidesign.com


