/
Creating a New Material
Creating a New Material
You can create a new material in two ways: modifying an existing material, or creating a new one from scratch.
Modifying an Existing Material
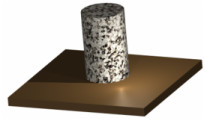
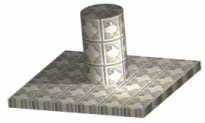
In this example, the cylinder has the material "Stones - Granite Sierra" and the plate below is "Metals - Antique Brass."
- To create a new material from an existing material, find the existing material in the Material Editor.
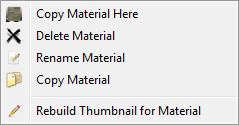
- Then right click and select Copy Material Here.
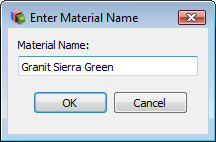
- Assign a name for the new material. It will be placed in the same category as the original.
- In the Pattern category, increase the Scale (which is the size of the repeated image, in drawing units), and change the various mineral colors.
Wrapping an Image
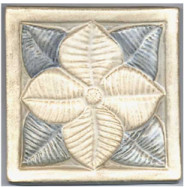
If you have your own image you want to use as a material, this is defined in the Pattern category. This example uses a ceramic tile:
- In the Editor, create a New Category.
- Assign the name "Tiles."
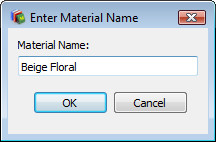
- Within the "Tiles" category, add a new material and call it "Beige Floral ".
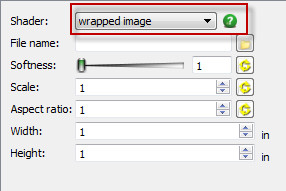
- For the Pattern, select "Wrapped Image"
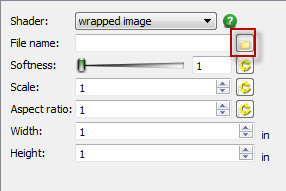
- Click the Browse icon next to File name.
- In the Open dialog navigate to an image and select it.
- For Reflectance, use "Matte" with a high Ambience Factor.
- Use "Auto Axis" for Wrapping.
, multiple selections available,
For any documentation issues please email:
Documentation@imsidesign.com
