Components of Select Edit Mode
- Brian Carter (Unlicensed)
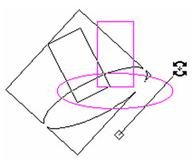
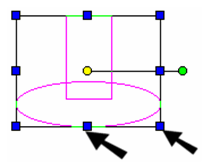
For this section, consider the following example of two 2D objects.
When they are both selected in Select mode, the selection set appears in magenta, with several small circles and squares.
The yellow circle is the reference point. By default, it is located at the center of extents of all selected objects, but it can be moved. It is used for moving, and as a reference for rotating and scaling.
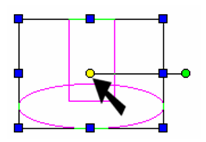
The green circle is the rotation handle. You can click and drag this point to rotate the objects around the reference point.
The blue squares are drag handles. You can click and drag these handles to scale the objects. Click an interior handle to resize one dimension of the rectangle. Click on a corner handle to resize both dimensions.
Changing the Reference Point
To move the reference point, you must first select (or pick) it. There are several ways to do this:
- Press D
- Press Ctrl and click the reference point
- Select Edit Reference Point from the local menu
- Click the icon in the Inspector Bar
![]()
The cursor changes to a hand symbol.
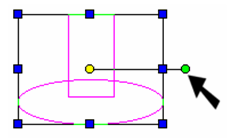
Move the reference point to its new location, in this case the quadrant point of the ellipse.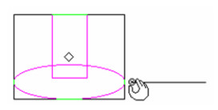
Now any moving, scaling, or rotating will be done relative to this new point.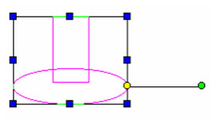
To return the rotation bar to its default position, select Default Reference Point from the local menu, or click the icon on the Inspector Bar.![]()
Changing the Rotation Bar
For both ends of the rotation bar, you can select the points by pressing Ctrl and clicking. (The yellow point is the reference point and has additional ways to be selected.)
The cursor changes to a hand symbol. In this example, the reference point is moved first.

The green rotation handle is selected and moved the same way.
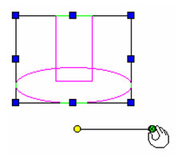
When you move the rotation bar, whether the selection rectangle changes depends on the Link Selector Shell option in the Selector 2D page of the Selector properties. See 2D - 3D Selector.

To return the rotation bar to its default position, select Default Rotation Bars from the local menu, or click the icon on the Inspector Bar.
![]()
Now any rotating will be done relative to the new rotation handle and reference point.