Revolve
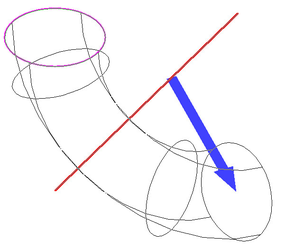
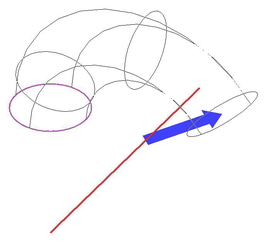
Creates a 3D object by revolving a 2D object about a revolution axis, or revolves a 2D object to make a solid imprint on an existing solid via Booleans.
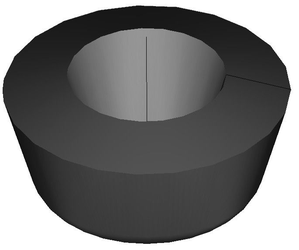
By default, the profile will be revolved 360 degrees, but you can change this angle or create a spiral.
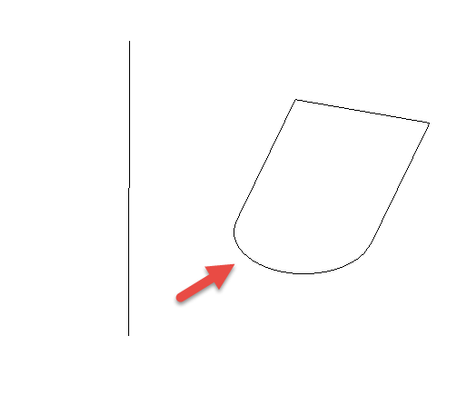
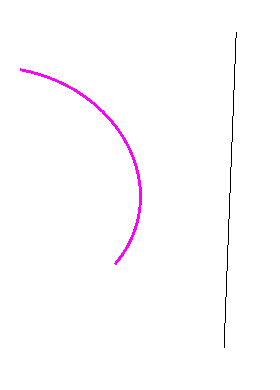
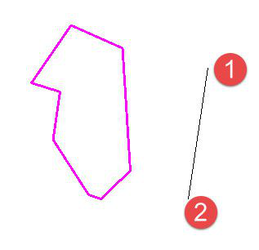
1. If you want to select only a simple (single-object) curve, make sure Use Compound Profile is not selected.
2. If you want to select a line as the axis of revolution, make sure Select Revolve Axis is active
3. Select a 2D object to revolve.
4. Select two points of a revolution axis, or, if Select Revolve Axis is active, select the axis line..
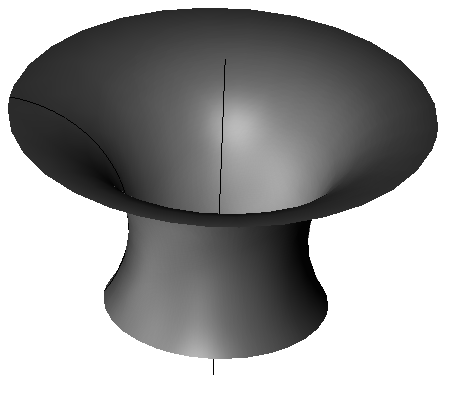
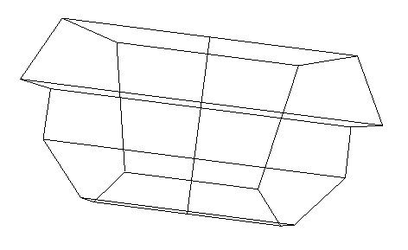
The revolved shape is created.
Straight edges of solids can also be used as a revolve axis line.
You do not have to select a closed 2D object to revolve. If you use an open object, a 3D surface will result.
Revolve with Compound Profiles
A compound profile is an open or closed chain of connected curves. You can use compound profiles when you do not want to create a polyline, or convert a chain into a polyline.
1. Make sure Use Compound Profile is selected.
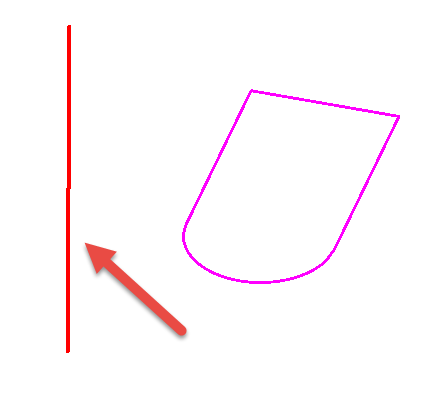
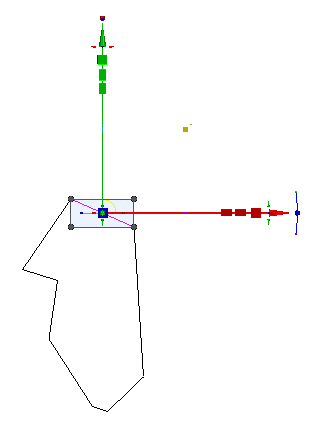
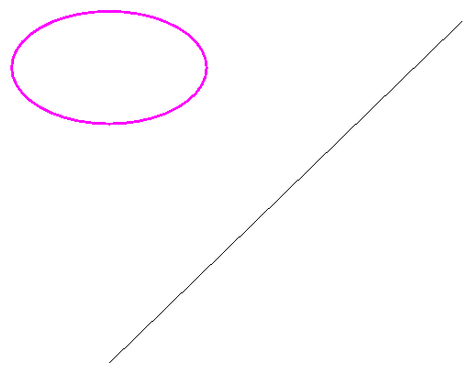
2. Select the compound profile, which is automatically identified as a chain. To deselect any curve in the chain, select it again (it will turn green). In this example, the profile is a series of connected lines, not
a polyline.
3. You can select more profiles if necessary. When the profiles are selected, click Finish Selection of Profile, or select it from the local menu.
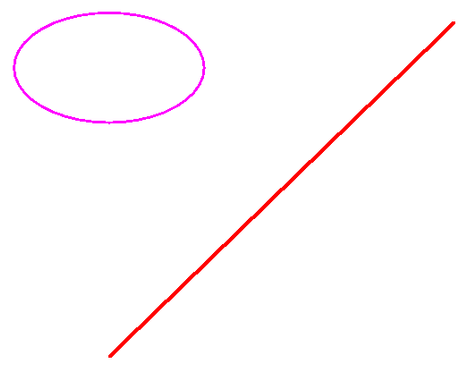
4. Select two points of a revolution axis, or, if Select Revolve Axis is active, select the axis line.
The revolved shape is created.
Note: Compound profiles can be modified, which updates the 3D objects upon which they are based. See Profile Editing
Revolve with Specified Angle
You can revolve with a specified angle and direction.
1. Select the tool.
2. Select the Define revolve angle option.
3. Select the profile.
4. Select two points of a revolution axis, or, if Select Revolve Axis is active, select the axis line.
5. Click to specify the angle or specify the angle in the inspector bar.
6. You can also reverse the direction by changing the to the Revolve Clockwise or Revolve Counterclockwise option in the Inspector bar or the Local menu.
Revolve with Imprint
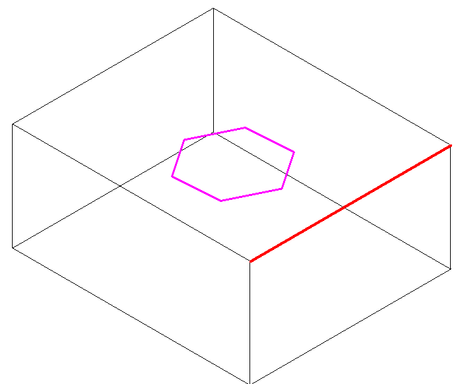
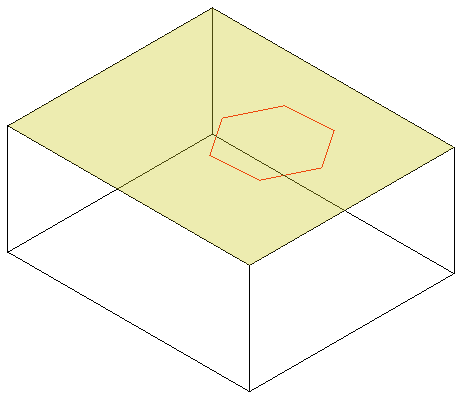
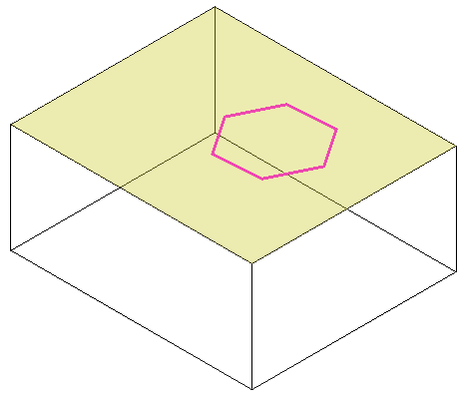
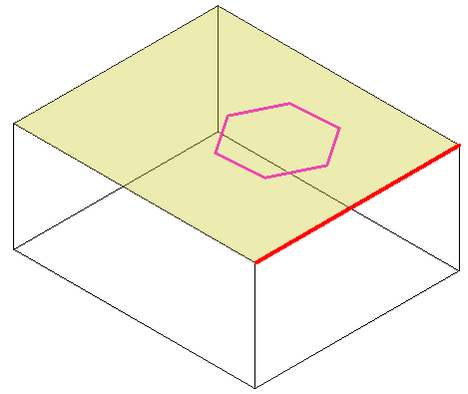
You can revolve a 2D profile to make a solid imprint on an existing solid via Booleans. The Profile must be on the face of the existing solid.
1. Select the tool.
2. Select the Create Imprint option in the Inspector bar or the Local menu.
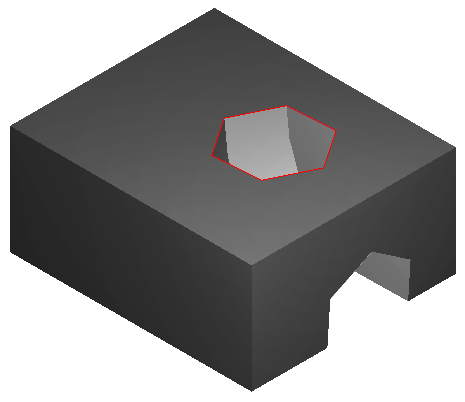
3. Select the Imprint type Subtract option in the Inspector bar or the Local menu.
4. Make sure Select Revolve Axis is active.
5. Select the face that the 2D profile is on.
6. Select the 2D profile.
7. Select the edge of the solid.
Result:
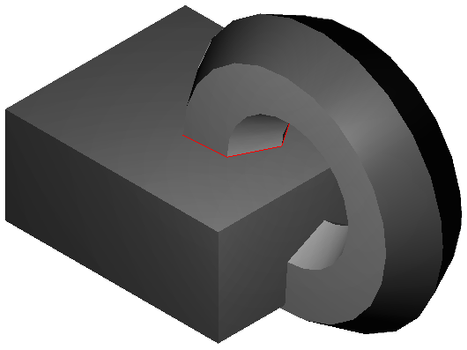
If the Result if the Imprint type Add was selected.
Revolution Shape Properties
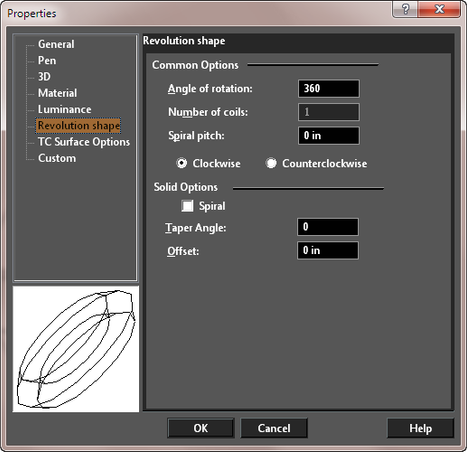
The Properties window of a revolve contains a Revolution Shape page, in which you can set geometric parameters.
For the Solid parameters to be accessible, the revolve must be created as a solid. In the 3D page of the Properties window, make sure Solid is selected under Create Object As.
Solid Options:
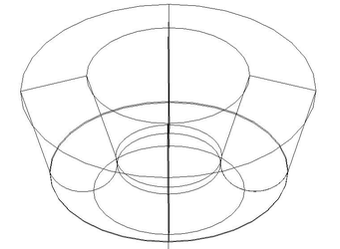
Spiral: The revolution will proceed outward in a spiral pattern
Taper Angle: The revolution will have a draft angle, with the section increasing or decreasing at it progresses. The remaining parameters (Common Options) appear for both surface and solid objects
Common Options:
Angle of rotations: Enter a value less than 360 for a partial revolve.
Spiral pitch: The lateral distance between the start and end of the revolve, enabling you to create a spiral. The angle of rotation must be 360.
Number of coils: If Spiral pitch is nonzero, you can specify the total number of revolutions.
Clockwise / Counterclockwise: Sets the direction of revolution. The direction depends on how the revolution axis was selected. For TC Surface Options, see TC Surface Properties
